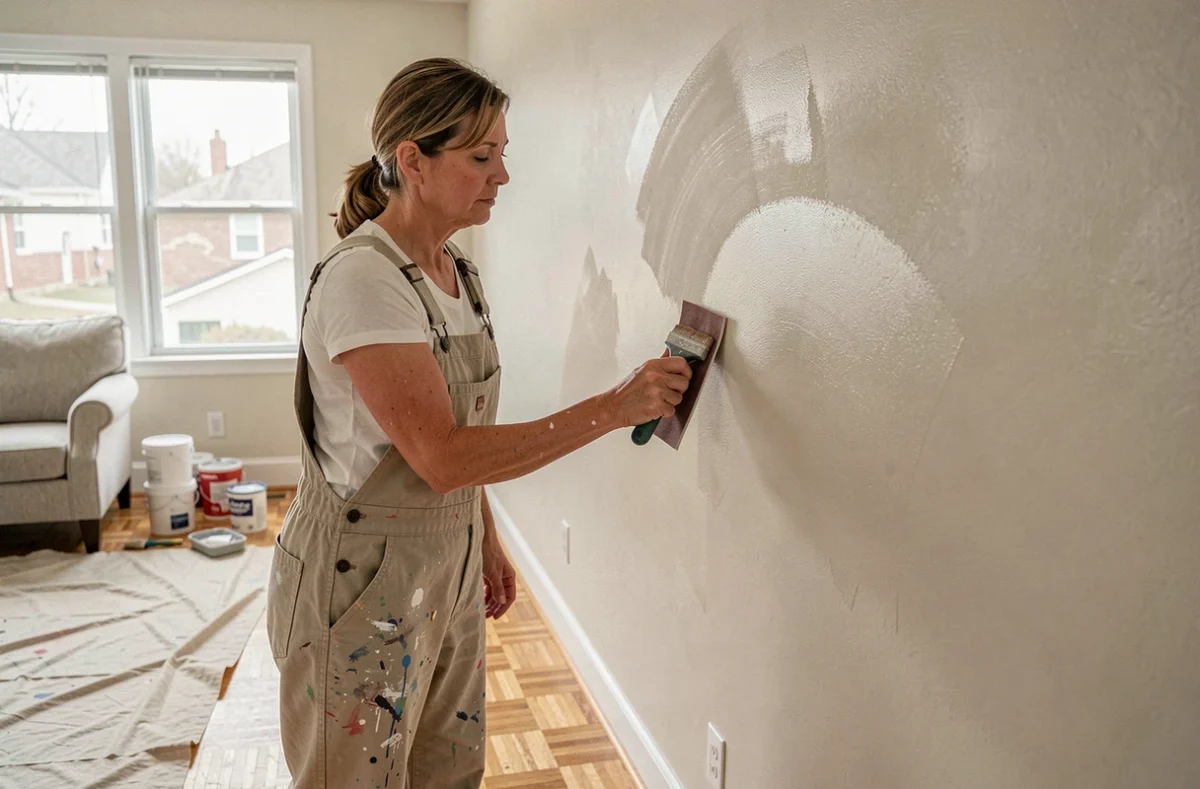
The roller marks on a freshly painted wall result from a lack of smoothing of the paint film before it dries. They appear as thickened edges at the seams, differences in sheen, or visible parallel lines in low-angle light. Understanding their technical origin allows for action on the right levers, whether before, during, or after application.
Open time of the paint: the factor that the technique alone cannot correct
The open time refers to the duration during which the paint remains sufficiently fluid on the surface to be smoothed or blended with the adjacent strip. As long as this time has not elapsed, the joints between two roller passes can merge. Once the film starts to dry, any touch-up creates a visible thickening.
Acrylic paint, widely used indoors, dries significantly faster in high heat. According to Le Petit Réparateur, working at moderate temperatures and avoiding direct heat sources are at least as crucial as mastering the technique. A warm draft or a radiator operating near the wall can reduce the open time to just a few minutes, making any smoothing impossible.
The practical rule: keep a wet edge between each painted area. Work in complete vertical strips, from top to bottom, without interrupting a wall section at mid-height. If the surface is large, it’s better to work in pairs than to try to cover an entire wall alone, as the paint will have dried before the joint. For more information on construction-batiment.eu, the management of the wet edge is detailed with progression diagrams by strip.
Primer and substrate absorption: why the finish alone is not enough
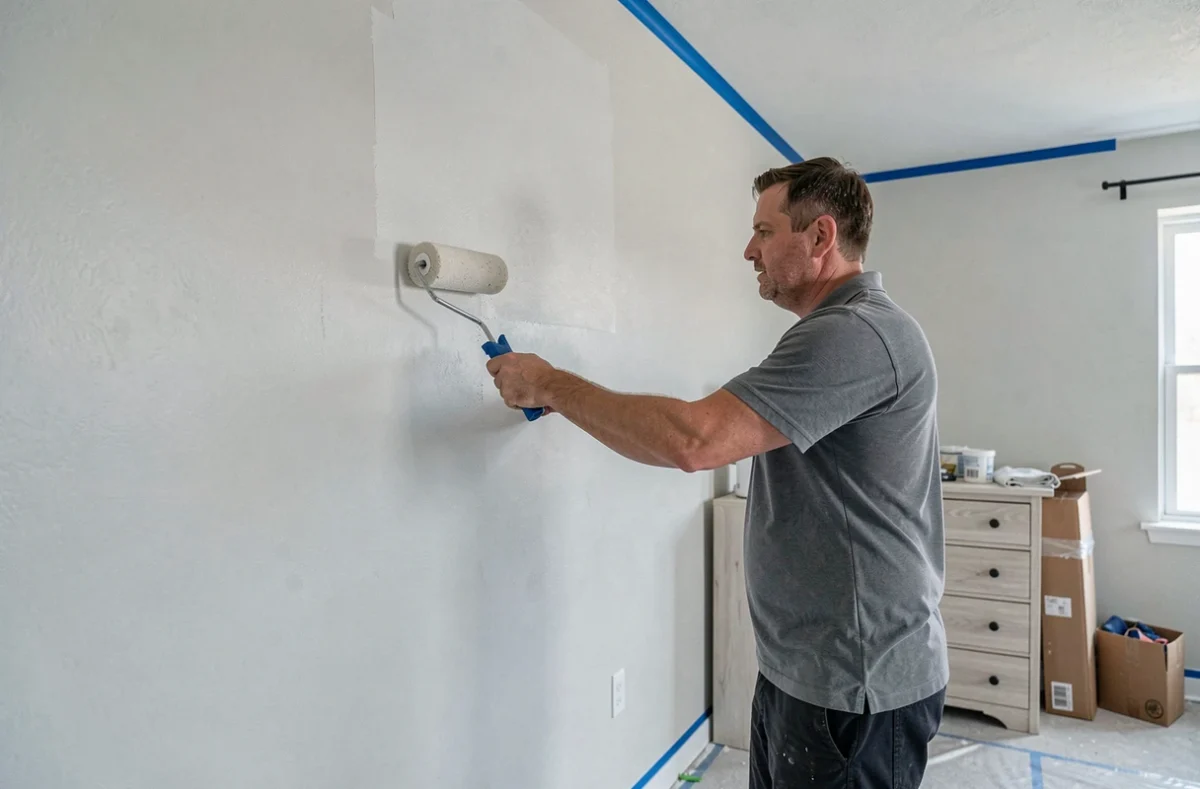
A porous substrate absorbs paint unevenly. A new plaster wall, a drywall partition with taped seams, or an old wall covered with a filler compound present areas with highly variable absorption capacity. Applying the finish paint directly on these substrates results in differences in sheen, halos, and persistent marks that even a second coat won’t hide.
An appropriate primer evens out the substrate absorption before the finish. Chort Bâtiment recommends never layering finish coats to compensate for the lack of primer, as the issue originates from the base, not the number of passes. The type of primer depends on the substrate:
- New plaster or fresh coating: high-penetration primer that blocks the substrate’s suction and stabilizes the surface.
- Old wall already painted with localized defects: bonding primer after lightly sanding the irregular areas to homogenize the texture.
- Very smooth substrate (old tiles, melamine): specific adhesion primer; otherwise, the finish will peel or mark with the slightest roller friction.
Check the absorption by passing a damp sponge over the raw wall. If the water is absorbed within seconds, the primer is necessary.
Sanding between coats: the technical gesture that eliminates existing marks
Sanding is often presented as the universal solution to roller marks. In reality, sanding wet paint worsens the defect instead of correcting it. The film must be completely dry through and through, not just to the touch. The “touch dry” stage occurs well before full hardening, and this timeframe varies according to the paint formulation and ambient conditions.
Acrylic paint generally requires a complete drying time longer than indicated for recoating. Glycol or alkyd paints require an even longer delay. Sanding too early pulls micro-fragments from the film, creates deep scratches, and leaves dull areas that reappear under the next coat.
Sanding technique for a mark-free wall
Use a fine-grit abrasive mounted on a flat sanding block, never by hand. The block distributes pressure evenly and avoids digging into the thickened areas. Work in light circular motions without pressing down. The goal is to break the peaks of the roller marks without damaging the film.
After sanding, dust the wall with a damp cloth, then wait for complete drying before applying the next coat. A poorly dusted wall traps particles under the finish and creates a visible texture in low-angle light.
Choosing the roller and application technique for a mark-free wall
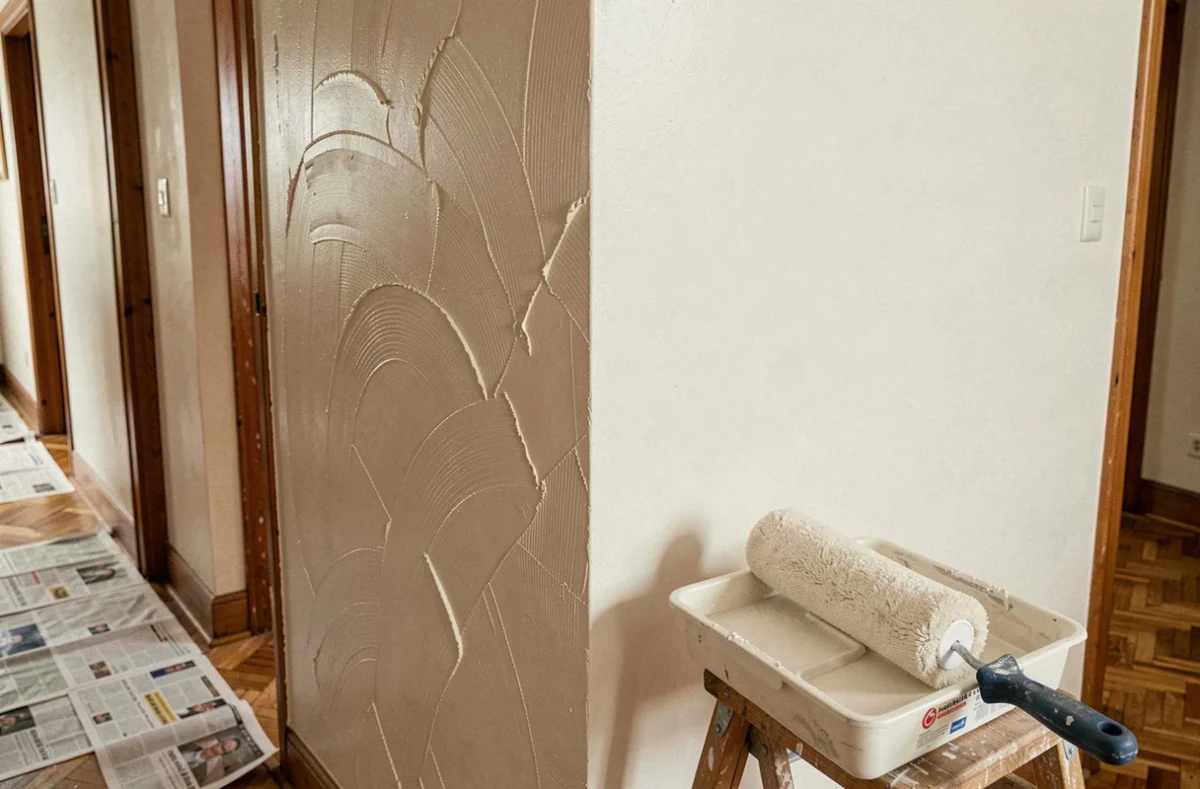
The roller itself plays a direct role in the formation of marks. A long-pile sleeve deposits more material, increasing the risk of thickening at the edges. A sleeve with too short fibers glides without depositing enough paint, forcing multiple passes over the same area.
- Smooth indoor wall: short or medium-length pile sleeve, made of synthetic fibers, for even deposition and easy smoothing.
- Textured or rough wall: longer pile sleeve to penetrate the reliefs, but with a moderate roller loading.
- Ceiling: same logic as the smooth wall, with extra attention to loading, as gravity accentuates drips and raised edges.
Wringing the roller on the tray grid removes excess paint before each pass. An overloaded roller sprays micro-droplets and leaves lateral bulges that dry raised. Load, wring, apply in crossed vertical strips (top to bottom, then smooth without reloading), and move to the next strip overlapping slightly with the still-wet edge.
The last often overlooked point concerns the quality of the sleeve. A budget roller loses its fibers in the paint and leaves irregular marks that no technique can compensate for. Investing in a professional-quality sleeve remains the least expensive item in an interior painting project and the one that most changes the final result.